We are seeing a revolution, or even a series of revolutions, in our hobby, with “Smart” telescopes, ever better optics and the new Harmonic mounts.
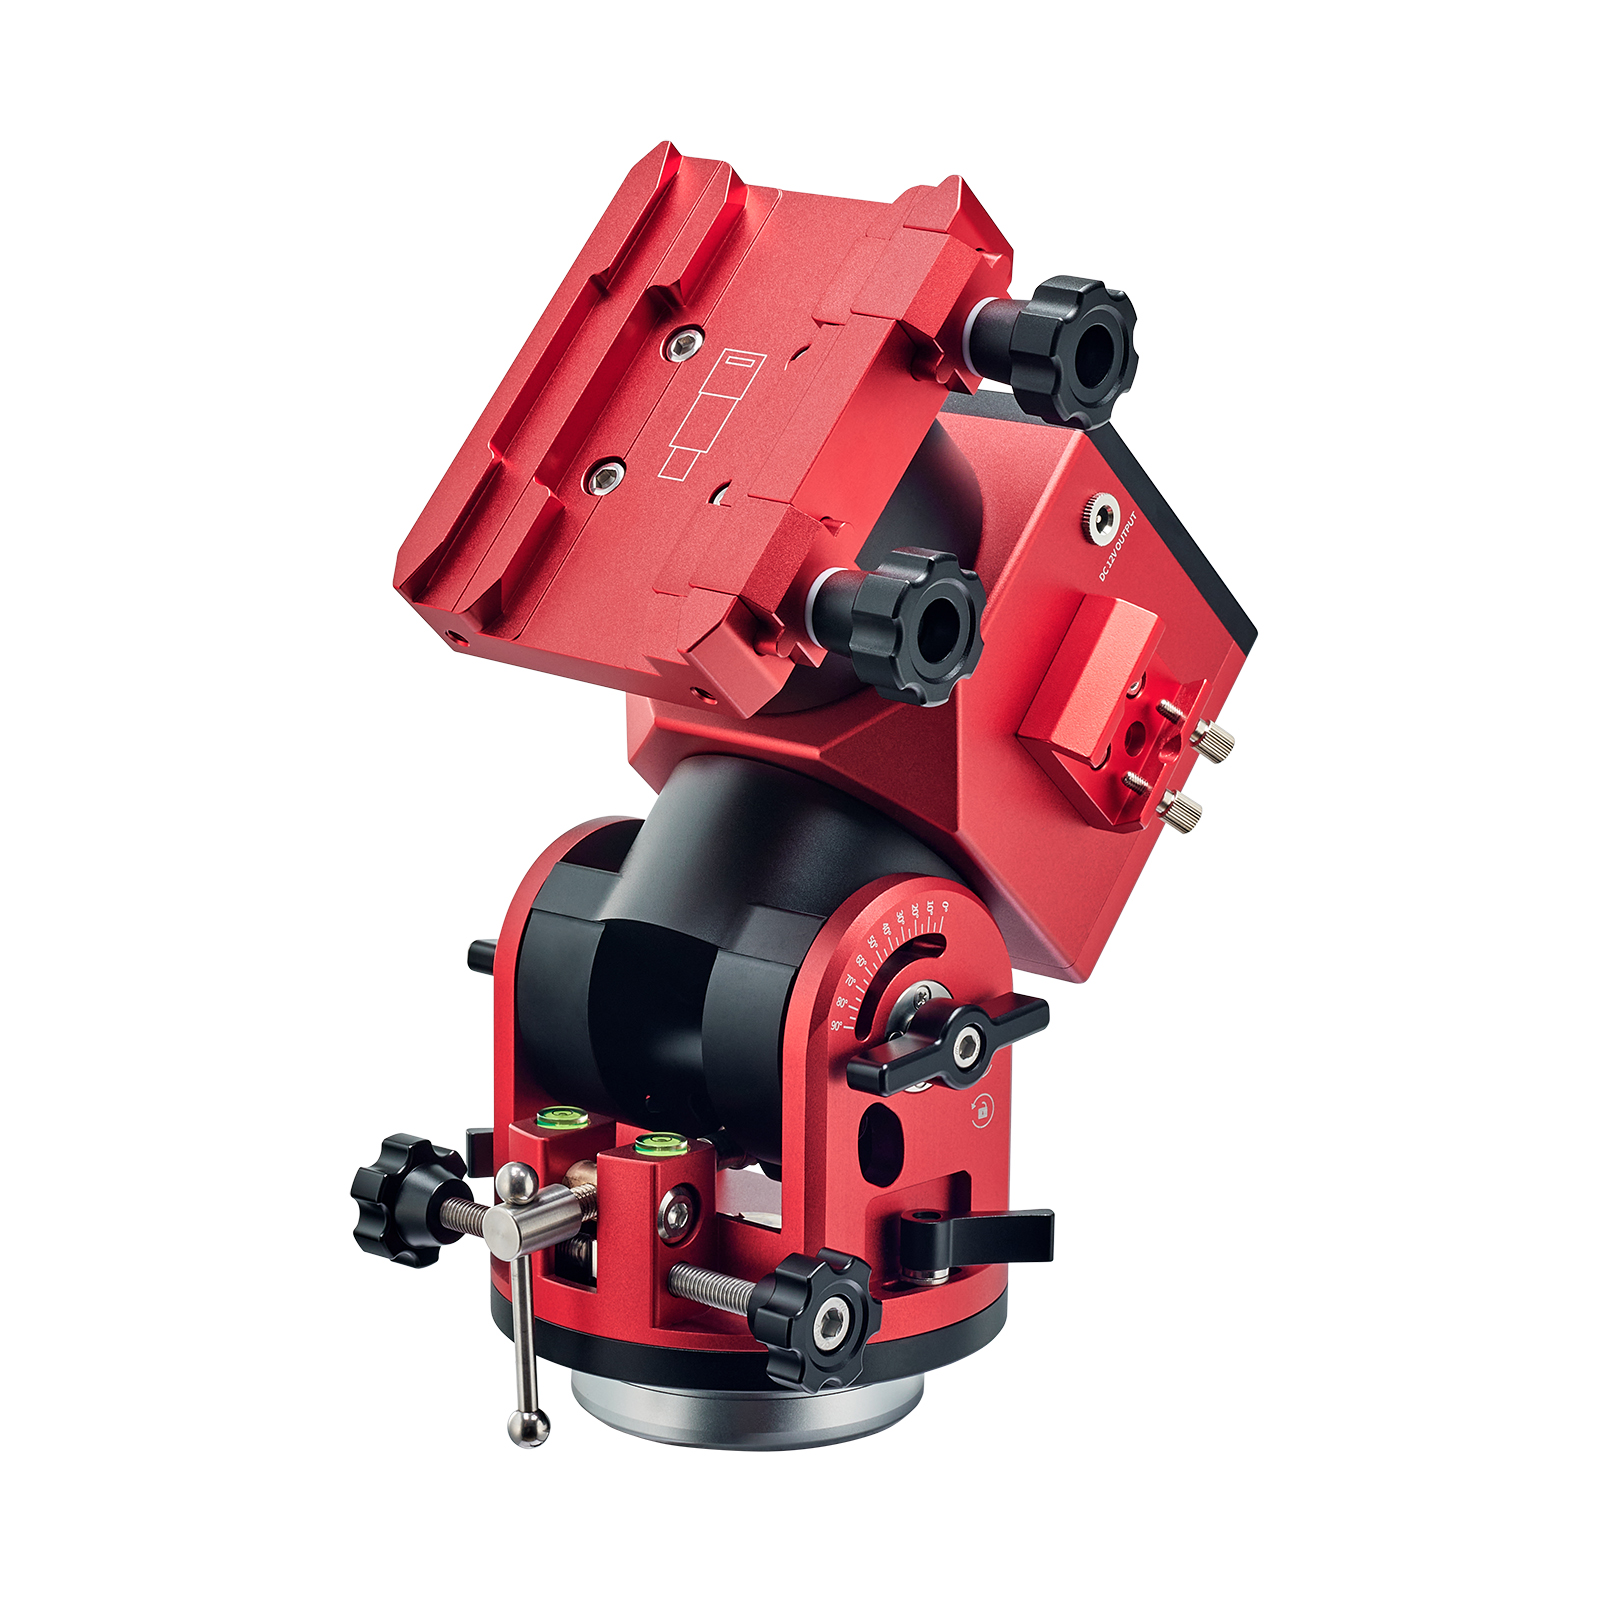
Harmonic (or Strain Wave) Mounts really are a very different experience from traditional equatorial mounts.
I was fortunate enough to be allowed to test ZWO’s AM5 mount, courtesy of First Light Optics.
The mount also came with the TC40 carbon fibre tripod.
This comes with a change of metal feet, for use on different surfaces.
In the specs, ZWO claims that this amazingly lightweight tripod, at only 2.3kg, can support a payload of up to 50kg. 😲
Being so lightweight, it would be excellent for travelling, but it is still quite low, even when the legs are fully extended.
There is a Pier Extension available if you need the setup to be higher.
ZWO also claim that weighing just 3.9kg, the AM5 itself has a payload of 8kg-13kg without requiring a counterweight.
For such a lightweight mount and tripod, I really wanted to put it to the test, both for imaging, payload and focal length.
It easily managed my Sky-Watcher Esprit 120ED imaging rig, which is just under 13kg.
I got some very nice images of the recent comet using it, even managing to get it to auto-guide on the comet itself, as it was bright enough to be seen in the guide scope.
So far so good. The mount is easy to carry about, set up and use and so far has performed beautifully.
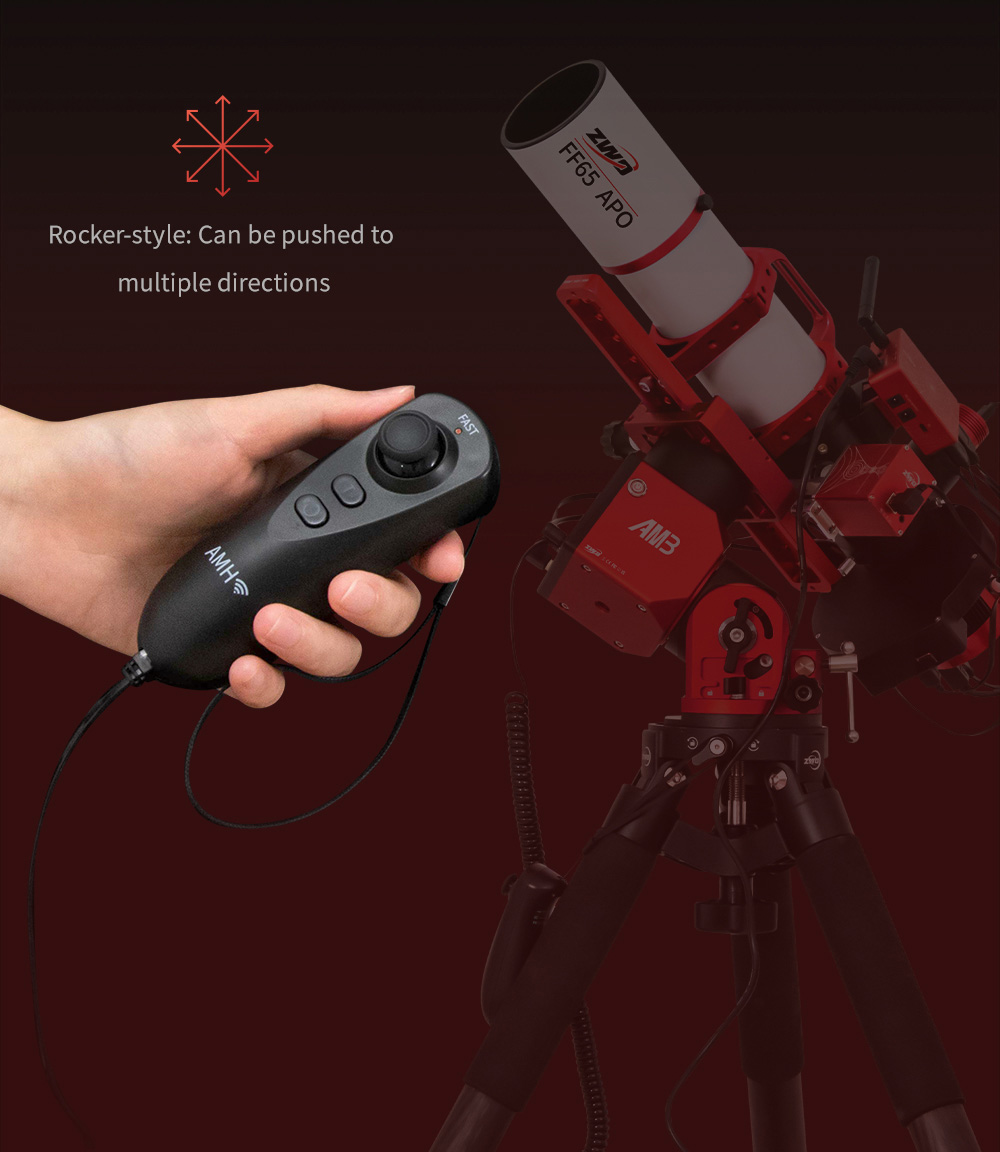
The handset disposes of the traditional screen, just a couple of buttons and a joystick and is a joy to use.
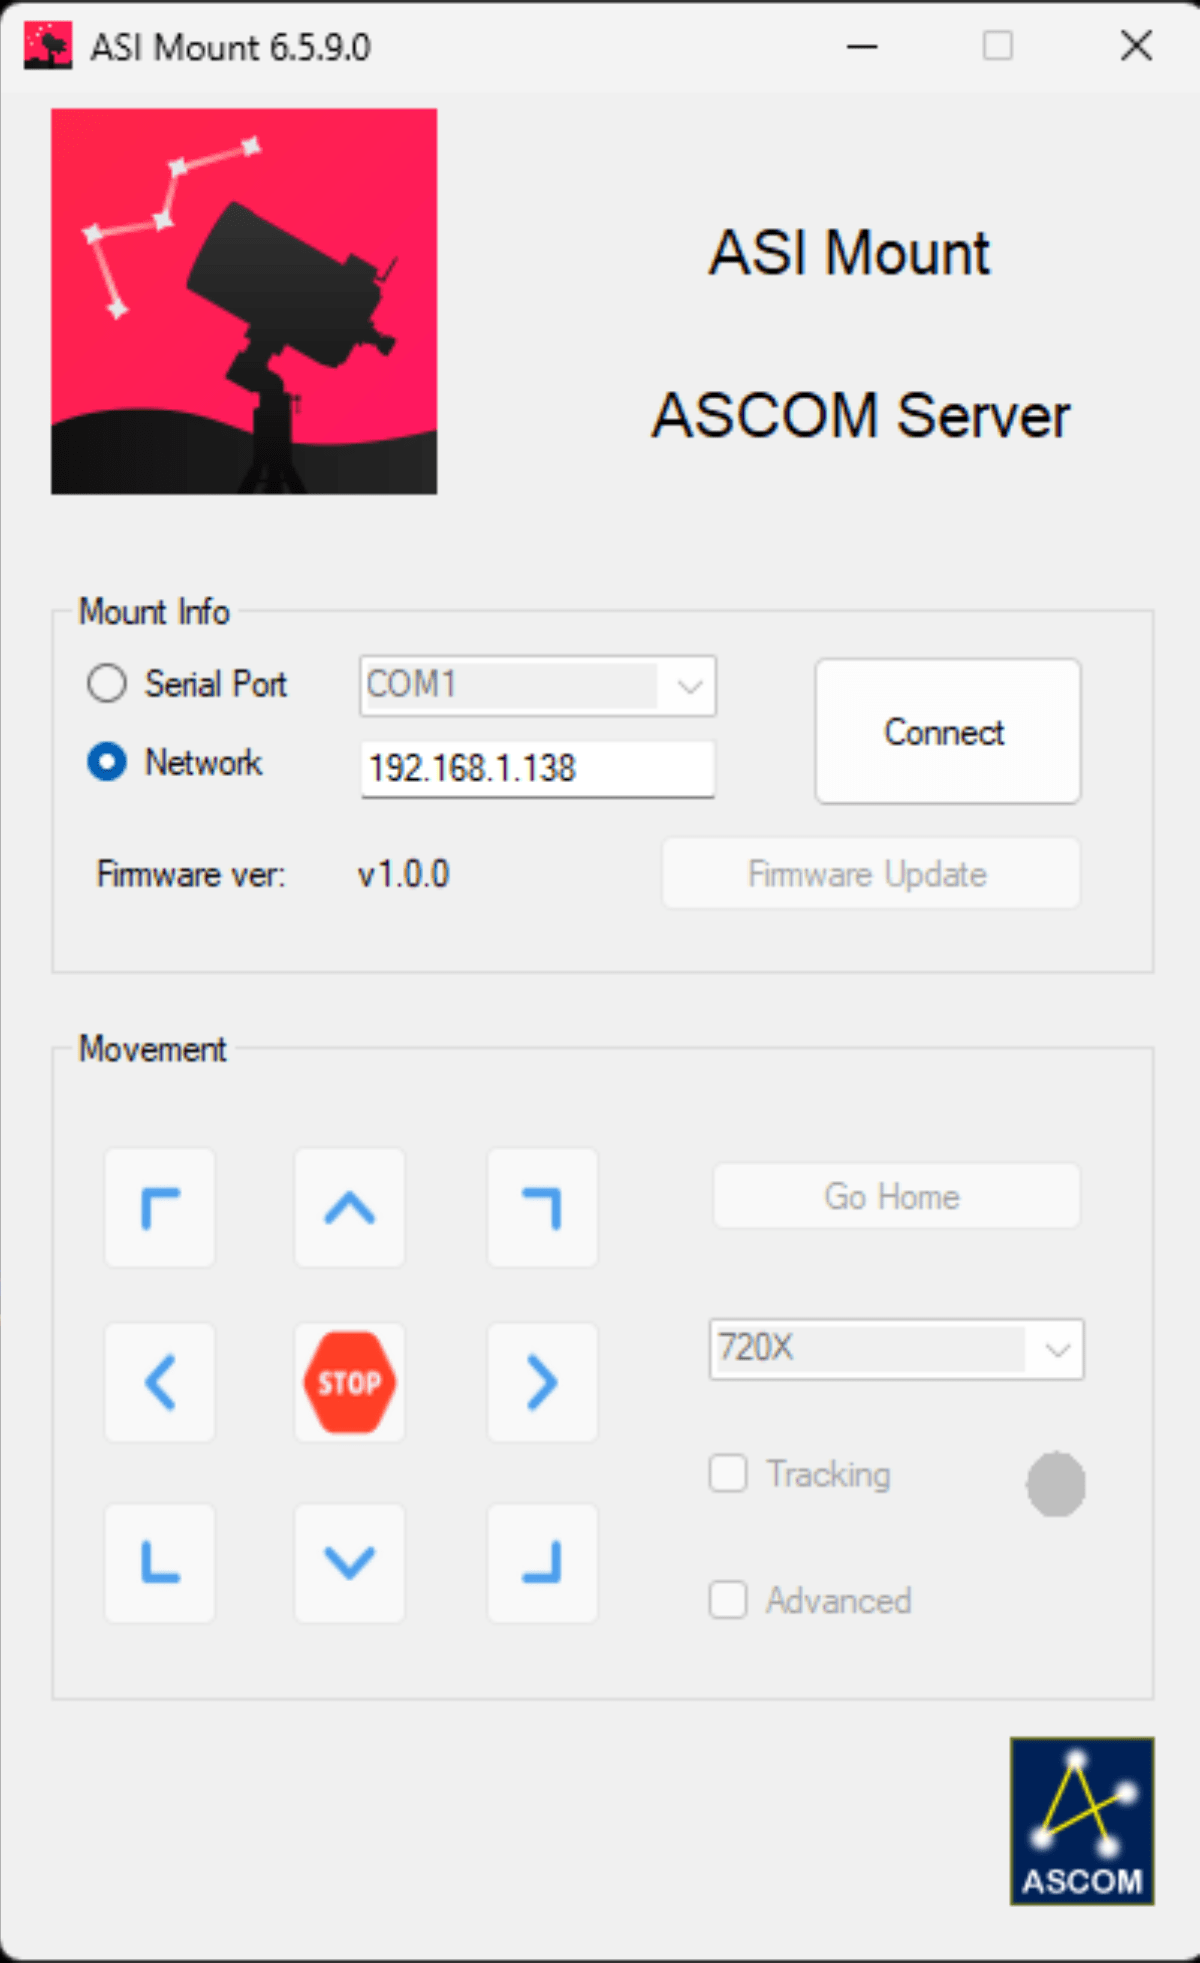
 As expected, I found that I could get everything working nicely together with the ASIAIR, but also using a USB cable to the PC, with just a few clicks was being controlled using various planetarium software via ASCOM. The ASI mount app for a smartphone or tablet is also extremely good and very easy to use.
Using the built in WiFi, I could also attach it to the ASIAIR and my home network, so every device on my network could connect to and operate the mount if needed without having to use any wires.
As with most ZWO products I’ve had a play with so far, it just flipping works. 😃
If I was being picky and looking for a niggle, the mounts WiFi will not work unless the handset is attached to the mount.
But that’s not too big an issue.
ZWO recommend that the AM5 is suitable for imaging with scopes of up to 900mm focal length, so I really wanted to put it to the test. All the scopes I have used so far on the mount were of shorter focal length than this.
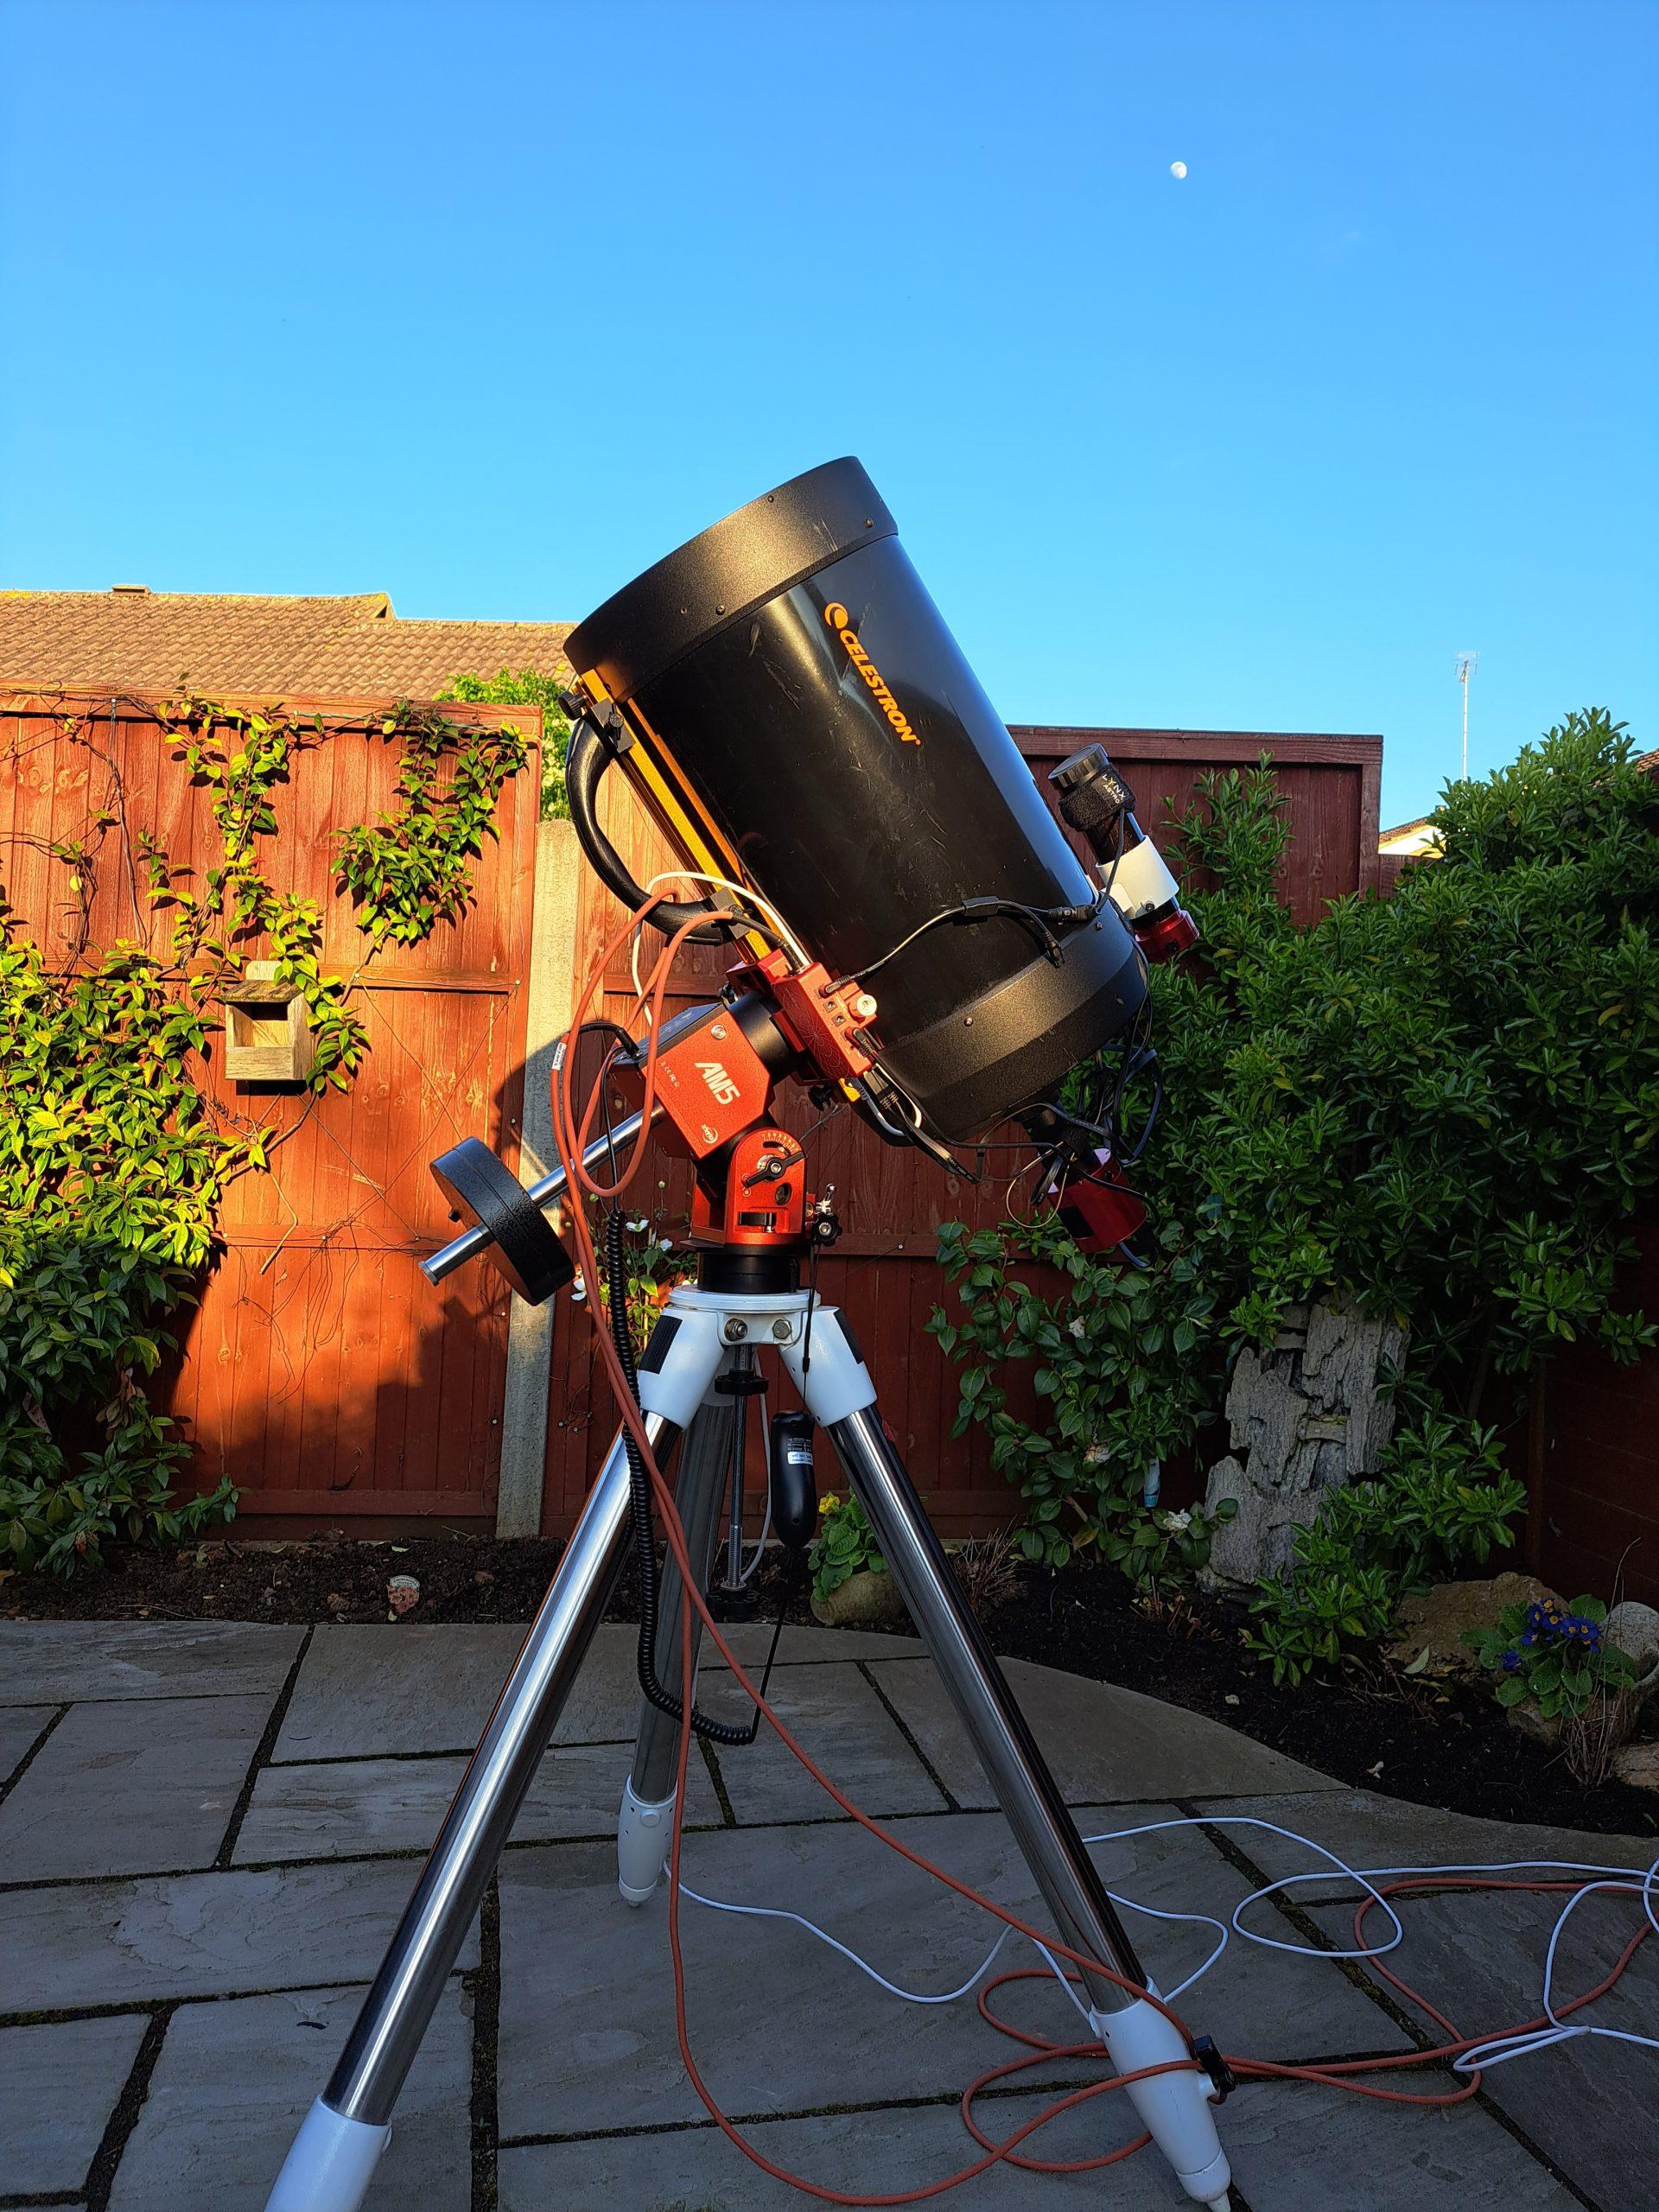
My Celestron C11 has a much longer focal length of 2,800mm, so this would really test the mount well beyond the recommended limits.
The C11 weighs a little over 13kg. So with the guide scope and cameras attached, it was above the mounts 13kg payload.
If a counterweight is added, the payload of the AM5 can be increased to 20kg.
Making the tripod heavier, by adding a weight to the weight bag (supplied with the tripod) will help, but to be safe a counterweight shaft and counterweight is recommended.
Unlike conventional mounts, there is enough torque in the gears not to have to counterbalance the scope as is tradition.
So why add a counterweight?
If a heavier payload is added to the mount, when the scope is over to one side and too much weight is over to one side of the centre of balance, the tripod could tip over.
With Harmonic mounts, you really do have to get into a different mindset about getting the scope balanced correctly.
You just don’t need to.
In fact, because the axes of the mount are not moveable manually, it is impossible to even try to get the scope balanced in the traditional sense.
But it does take a while to get your head around that. Old habits die hard.
After adding the counterweigh shaft, I put on a 5kg counterweight, so I could mount my C11 for a very long focal length test of the AM5’s guiding.
I also put the mount onto my EQ6 tripod to give it extra stability (and a bit more height for convenience).
 I then managed to get the mount polar aligned using the ASIAIR PA routine.
This was a challenge in the bright twilight, but adding a larger chipped camera helped me obtain a wider field of view with the scope.
How accurately did I polar align?
Well, I got close enough to polar alignment, within less than a degree, but I wasn’t going to spend loads of time getting this absolutely exact. If you want to see my view on achieving very accurate polar alignment, see my post Here
I set the ASIAIR to take a series of images of different lengths to see how long the mount would track for without producing star trails.
I also purposely used the simplest and shortest focal length guide scope I had, a converted Sky-Watcher 9×50 finder.
While imaging, the guiding figures were between 0.2 and 0.7, which was excellent.
But of course, the real test is always in how the images looked.
Was there any star trailing? No there wasn’t.
So all was going well with the 60 second exposures.
That night I was going to do progressively longer exposures, to see how long it could successfully guide for, but this was soon ruined by the clouds rolling back in.
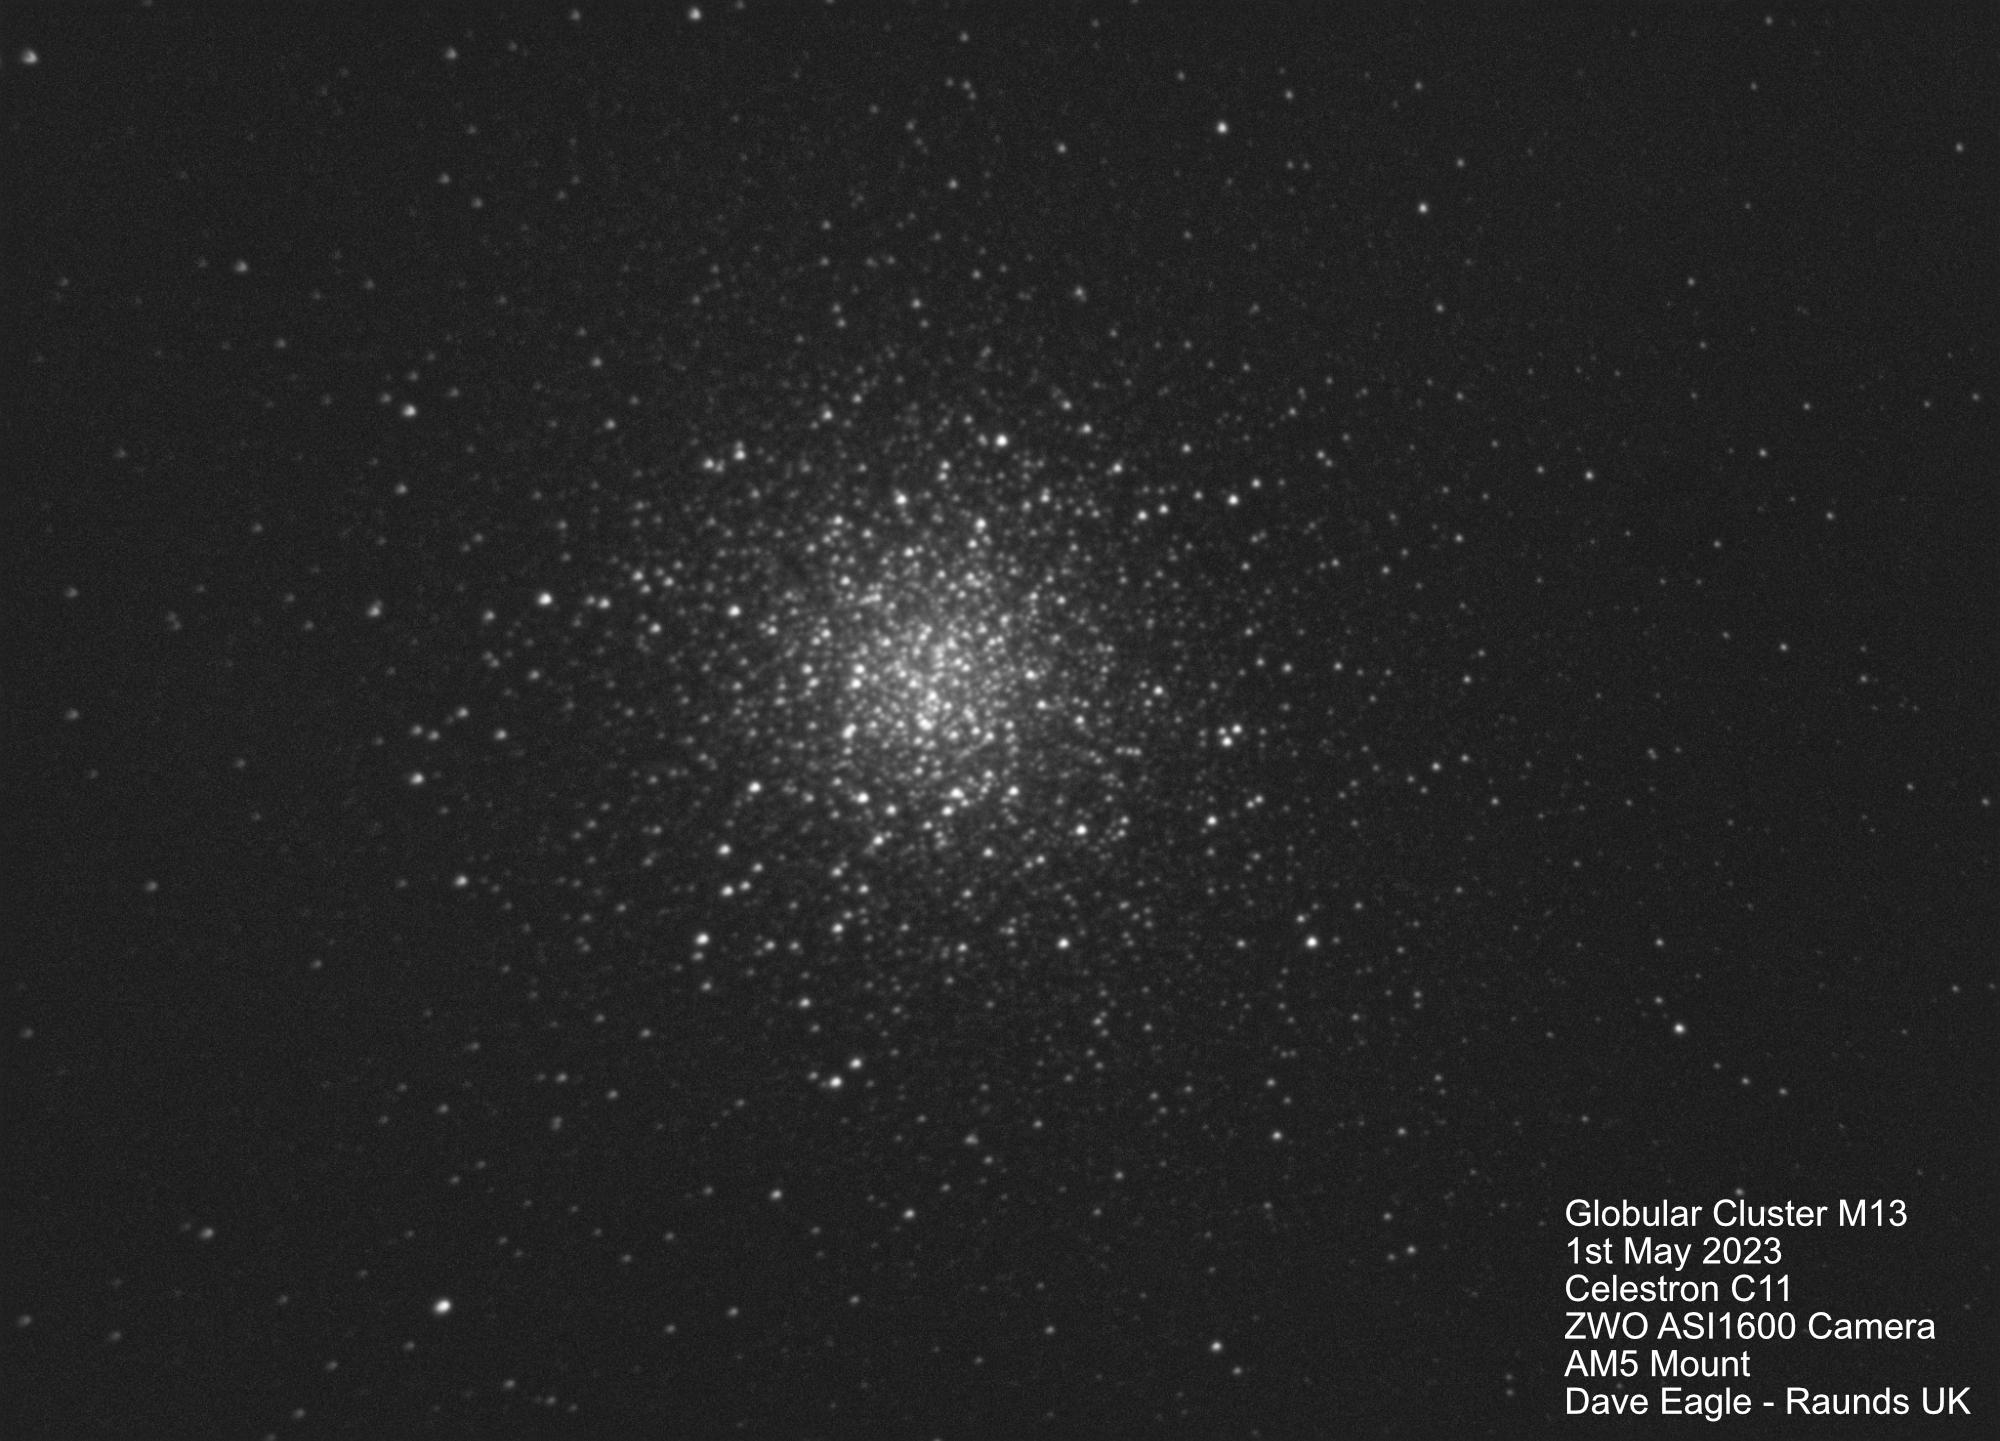
I managed to get 5x 60 second exposures on M13, which was in a clear part of the sky.
This is the result of that stack, with not a star trail to be seen.
So all in all, this mount is certainly exceeding all my expectations.
I wonder if FLO want this back? 😉
I would certainly recommend this mount to anyone in the market for a new mount, and if you travel, another added bonus is that it’s extremely portable.
Leave a Reply