Comet C/2022 E3 (ZTF) is starting to brighten, and could give us a great display over the next couple of months.
See my previous blog entry here for maps and what we MIGHT expect:
With this in mind, I thought I would write down the method I use to capture as much detail in comet tails as possible in my images.
First Problem – A moving target.
As a comet goes round The Sun, it, just like the planets, is constantly moving.
As a comet gets closer to the Sun, its proper motion increases, being at its fastest at Perihelion (closest to The Sun).
When a comet is in closer proximity to Earth, its apparent motion across the sky also increases.
The closest it is to Earth, the greater the apparent motion.
Over the next few weeks the motion of this C/2022 E3 accelerates rapidly, passing Polaris and down through Taurus within a few weeks
Second Problem – A rapidly changing target.
Comet tails are extremely tenuous and in constant change.
Being buffeted by the solar wind, kinks and disconnections can form in the tail very quickly and move swiftly away from the comet.
You can probably surmise by this, that comets are a very active objects. All this movement results in blurring our images.
See the animation posted on the 6th of January to see what we are dealing with:
The images used for this animation were taken over just 5 minutes.
You can clearly see the movement of the comet against the stars, and the kinks moving down the faint ion tail.
How can this blurring be avoided?
Cancelling Movement.
The proper motion of a comet gives its own problems. Most auto-guiding systems lock onto background stars.
Any long exposure guided on stars could reveal the comet moving and blurring as it moves in front of the stars during the exposure.
If the comet is bright enough to guide on the comet itself, then this problem is solved.
But if not, the gain on the camera needs to be increased and take shorter exposures to minimise the movement during the exposure.
The shorter the exposure, the less the comet will appear to move.
The faster the apparent motion of the comet, the shorter the exposure you’ll need to freeze its motion.
Experiment by taking various exposures to see which exposure has the sharpest comet image without it trailing.
Once decided on the ideal exposure each captured sub should then have minimum comet movement and reduced blurring.
Freezing Tail Structure.
Details in the tails, especially the Ion tail can change within minutes.
If a kink or disconnection forms in the tails, these move rapidly away from the comet nucleus along the tails length due to pressure from the solar wind.
If a long exposure is taken, or lots of subs are used to stack over a long period of time, detail within the tail will blur in your images as this material moves.
When taking an exposure, or a number of shorter subs to stack later, it is best to leave the interval between start and finish to no more than a couple of minutes.
This will give you the best chance to freeze and capture those ephemeral tail structures.
Stacking Subs.
When stacking images, you really do need to stack on the comets position in each image otherwise the stars will be nicely stacked, but the comet, having moved between each exposure, will appear blurred in the stacked result.
Locking on the comets position and stacking the subs on that freezes the comets motion and draws the stars into trails.
The faster the movement of the comet, the longer the star trails will appear.
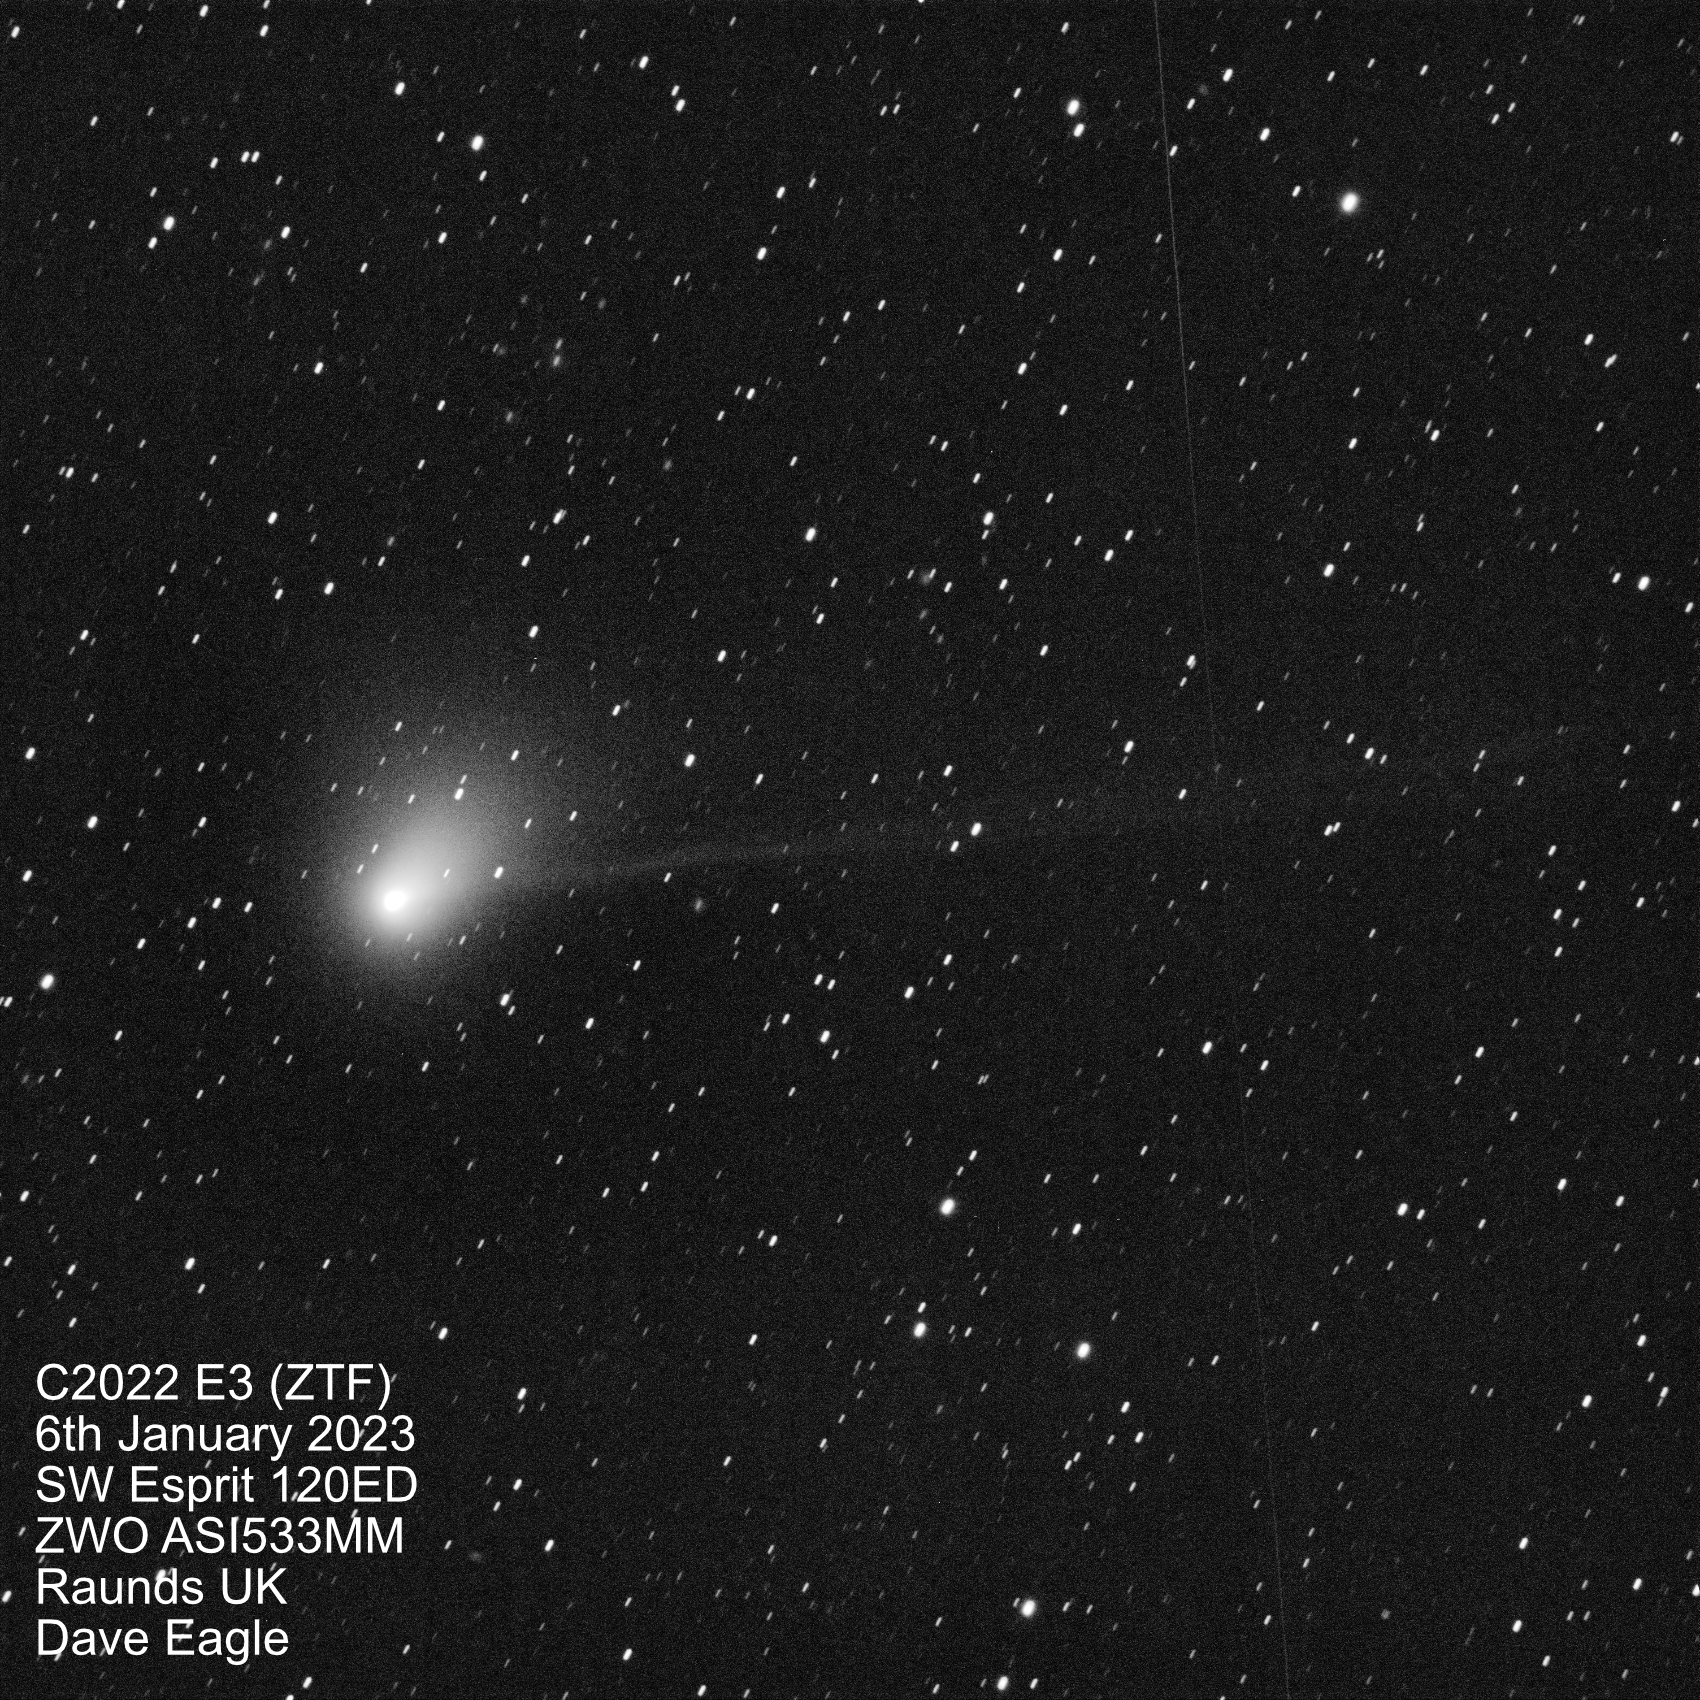
The image of the comet at the top of this blog entry taken on the 6th of January was a result of only 3x 60 second subs.
I was auto-guiding on the comet and increased the gain on the camera to 180 to pull out a bit more of the faint ion tail during the relatively short exposure.
I found that if I stacked 4 or more of the subs that were taken, the detail in the resulting image started to blur and detail in the ion tail was lost.
In this case I found using no more that 3 minutes exposure span gave me the best balance between a nice smooth stacked image with sharp tail details.
Like most imaging, it’s yet another balancing act on getting the exposure and timings right to freeze as much detail as possible.
Stack too many subs over too long a period of time and all that nice detail will be blurred out of existence.
Affinity Photo stacks astrophotography images, but it does not currently have a Comet Stacking mode, so cannot be used for moving comets:
https://affinity.serif.com/en-gb/photo
I hear that PixInsight has a comet stacking feature, but I haven’t used this software yet.
https://pixinsight.com
The software I use for my comet Stacking is…
Good old Deep Sky Stacker, which is of course free: http://deepskystacker.free.fr/english/index.html
(I never seemed to managed to get a very good image when using the combined comet and star stacking method).
The process I use is outlined in my Deep Sky Stacker Guide, which is available from my online shop:
https://www.star-gazing.co.uk/shop
It can also be done in Astro Pixel Processor:
https://www.astropixelprocessor.com
I made a YouTube Video a while ago showing how to do this in APP here:
Leave a Reply