On social media lately, I have been reading a lot about people trying to get their mount as accurately polar aligned as possible. Some of them spending whole evenings getting it right and making sure it is as finely aligned as possible. That’s OK for someone who has a permanent setup, because once it’s done, it’s done. But what about us folks who have to set up the scope each time we go out and observe, or image? You just cannot spend any clear skies faffing about to get accurately polar aligned each time you set your gear up.
Yes, software can be used to help you get there, or you can buy devices that can guide you into adjusting your mount. These can be expensive.
How accurate should polar alignment be? If you can get it spot on, that’s fantastic!
BUT! If you are first starting out in astrophotography, it seems that the expense racks up to get things working. Not only that, by the time you’ve got out, get everything set up and then carefully polar align, the chances are, living as we do in the UK, the sky clouds over. You’ve spent all that time trying to get it polar aligned and you’ve not even started to take any images within the short clear window that was available.
The other night I decided to have a bit of an experiment and see how tolerant auto-guiding was to a mount that was only approximately polar aligned.
Here’s what I did and the results.
On the 5th of September the day was sunny enough to get on and do some solar imaging.
I set up the tripod, connected it to EQMOD, sending the scope to point towards The Sun.
I then adjusted the mount so that I could just see an image of The Sun being projected through the scope. So far so good.
Once the mount was set up this way, I finally centred The Sun using the RA and Dec controls on computer and calibrated the mount position.
I was now set up reasonably well to take my solar images.
The image drifted down the field of view slightly, so I knew that the mount wan’t accurately polar aligned. But I knew that drifting actually helps with getting better webcam images.
Read my Lunar or Solar imaging astrophotography guides for more details on this.
It clouded over fairly quickly that afternoon, so I only got 3 fairly mediocre solar images.
I left the scope set up as it was until the sky started to get dark before starting to use it for lunar and Jupiter imaging.
I did not touch the mount position since setting it up for The Sun earlier in the day.
I tackled The Moon in a twilit sky as it passed between the two neighbours house, quickly followed by Jupiter, before both objects disappeared behind my neighbours house. Saturn would have taken at least another hour to go through the gap, and the seeing looked extremely shaky so low down, so I decided to give Saturn a miss this time.
It wasn’t a particularly clear night, there was a slight haze, so I decided to test the mount as it was set up to see what the auto-guiding was going to be like with this very rough and ready polar alignment.
I sent the scope towards Altair, the first magnitude star in Aquila. I connected the guide scope and aligned it with the main scope.
I placed my DMK41 camera into the guide scope hoping that I had got the angle the same as it was when I did the calibration on the 25th of August. I was going test if this calibration would be sufficient to auto-guide the scope. I was sure that there would be a number of unintentional variables added to the setup which would have seen the auto-guiding that night completely wrecked and having to start the calibration all over again. But what the heck, let’s give it a go.
Just for reference, here’s my calibration data performed on the 25th August:
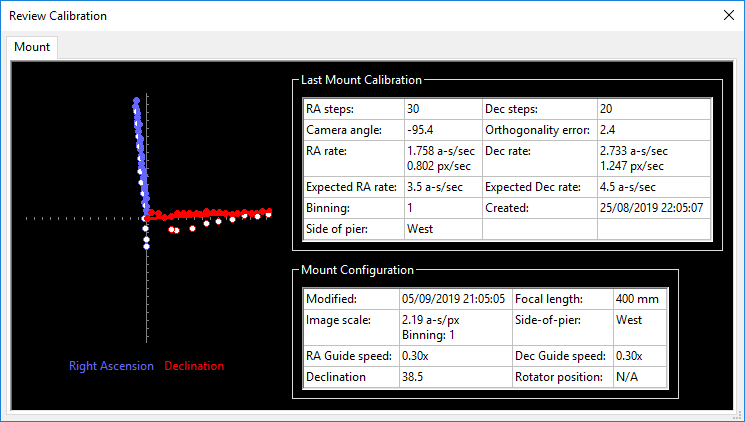
Yes, I know it isn’t perfect, but it worked that night, so below is my image of NGC7331 and The Deer Lick group of galaxies photo taken on the 25th of August through the C11.
So that was good enough for me, and more importantly, good enough for my images.
But would this old calibration be sufficient to get things going again without a fuss this evening?
The two big things that would prevent it working I thought were:
1. The mounts “polar alignment” isn’t quite the same as it was when the old calibration was performed.
2. The camera may have been placed into the guide scope at a slightly different angle.
Had it not guided correctly, I would have just re-calibrated PHD. However, I didn’t have to.
I was amazed to find that it started guiding reasonably well, almost from the start of the run.
Here’s the graph of how the guiding was going:
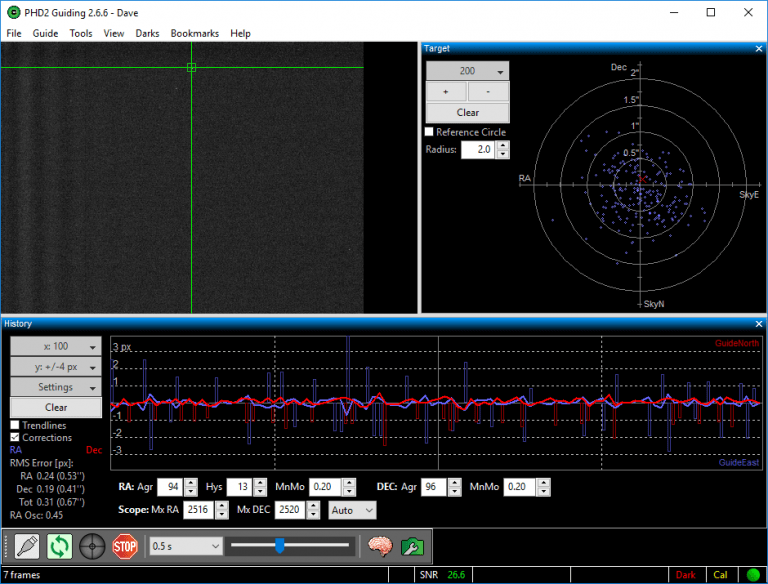
There are bound to be one or two of you out there who are going to tell me that I haven’t got any of my settings quite right. But Hey!, it works for me.
I’m always happy to hear from someone who has had time to investigate and delve deeper into these thing than I have and improve my techniques.
After all none of us are an expert in everything.
Anyway I was pretty chuffed with how it all seemed to be going that evening.
I took a number of 90 second subs and used a Nikon D750 DSLR, in DX Mode.
I have found that the full FX mode produces a very distinct vignetting, so I usually use the smaller image format to make the images easier to process.
No calibration frames were taken or used in the final processing.
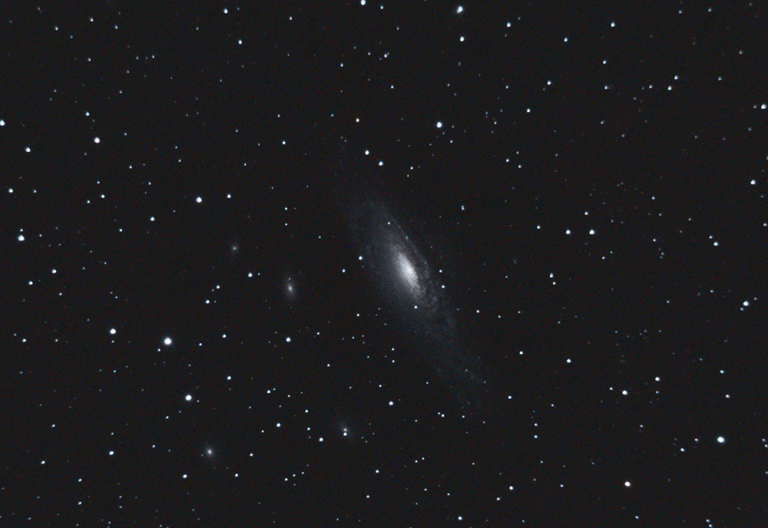
I was hoping to capture some comet images that night, but it turned out to be a rather grotty night in the end. So just used Altair and then moved over to the open cluster Messier 71 in Sagitta, as they were fairly high up above most of the clag to test out the auto-guiding.
I knew that stars were more likely to show through than deep sky objects, such as nebulae or comets.
The sky was extremely claggy by the time I had finished, so that’s when I decided to pack everything away.
However, the proof of the pudding is in the images.
So how did my images that evening turn out?
Here they are:
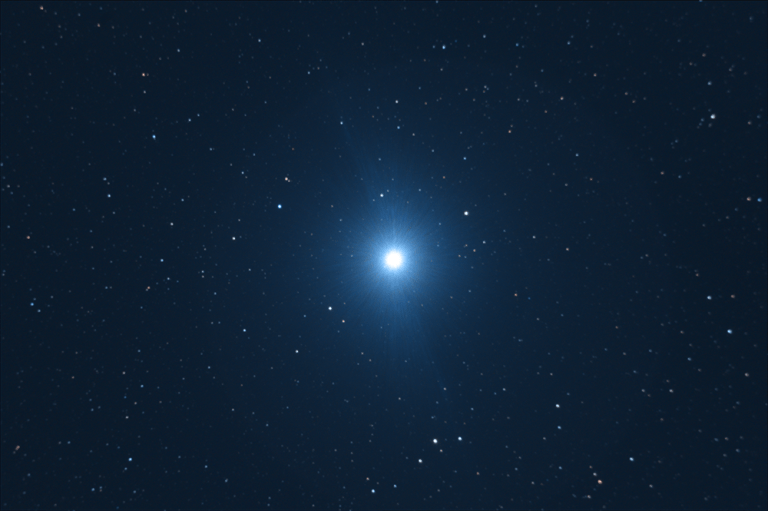
Altair.
Messier 71.
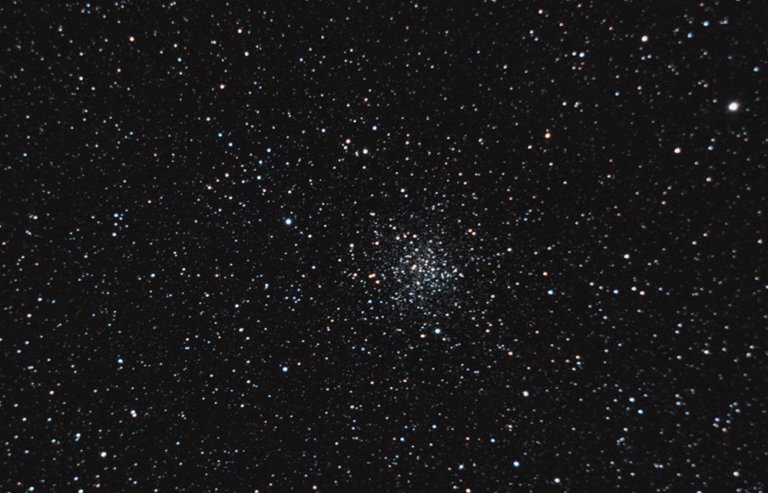
As you can see the stars look very good in my images and there does not appear to be much trailing visible.
Any elongation of stars towards the edges of the field of view is entirely due to the optical arrangement of the C11.
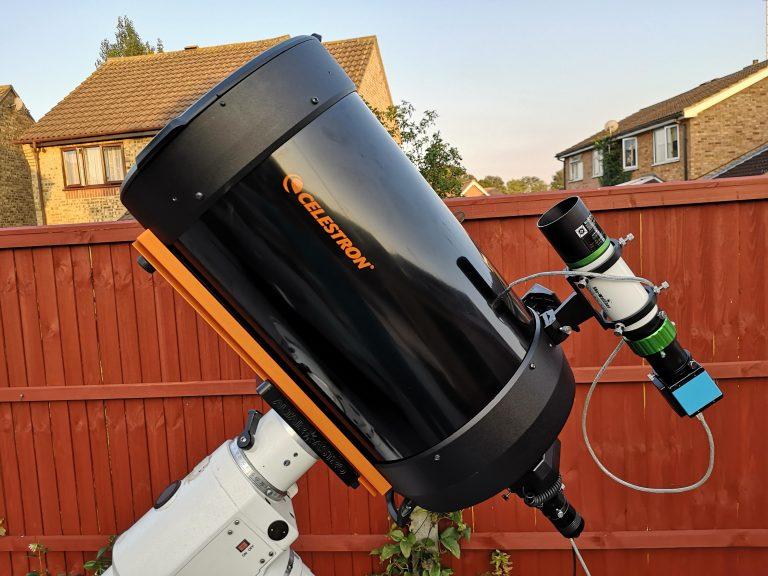
My setup?
The C11 has a very long focal length of 2,800 mm (f/10). Yes, that’s a whopping 2.8 meters.
The guide scope I am using is a Skywatcher 50mm guide scope.
This has a tiny focal length of 242mm. This is over 11 times shorter than the C11.
With the guide scope being so tiny, I would have thought that any errors in guiding would have been magnified at least 11 times by the longer focal length C11.
I didn’t expect it to work as this should have been very noticeable on the final images. So you can imagine I am extremely surprised at this result.
The next real test of the system would be to try images taken with the Hypercam instead of the DSLR.
That camera, having a much smaller chip, would show up any guiding errors even more.
Watch this space…
Yes, having an accurately aligned polar scope will make your images much, much better.
You don’t always need to get your mount quite so accurately polar aligned, or spend so much time making sure that it is as accurate as you can get it. Auto-guiding compensates somewhat with the mis-aligned mount. Obviously, you need to get it somewhere aligned with Polaris, but exact polar alignment isn’t necessarily the be all and end all of getting good images.
I hope that this write up gives some hope, especially those who are just starting out in their own exciting journey into astrophotography.
Life and clear skies are far too precious to waste wrestling with your gear.